Showing posts with label Autumn. Show all posts

Monday, November 9, 2015

The Yo-Yo Post

You know those cute little fabric circle things that you've been seeing around the internet? Those are called Yo-Yos (whoever named them that, I applaud you). They are so cute and fun to make, and I just recently went to the fabric store (a dangerous place to be), and I got some brand new fall-themed fabrics, and I made some yo-yos to pin onto my clothes and my hair.
I thought I'd show you guys how to make them. Because it's SUPER easy.


You will need:
  • Fabric (Fall or no) You only need at least 5" by 5" squares. That's the great thing about these, you can make a whole bunch to use up all your scraps (I love projects that take up scraps, can you tell?)
  • A CD (or a DVD) Any kind will do. I used a blank CD, because I didn't want to scratch up any of my soundtracks. :)
  • Matching Buttons I ended up using all brown for my yo-yos because that was the color that looked best to me, but you can use any color you like.
  • Needle
  • Thread
  • Scissors 
  • Fabric marker (Or a Sharpie. It's not going to show up on your finished project so you don't need to worry about it using a washable fabric marker of any kind).


 First: Place your CD over your choice of fabric, and use the Sharpie to draw around it ( I just drew dots because it's easier).


Cut out as many circles as you want.


Now you're going to thread your needle and sew all the way around the edge of the circle with BIG stitches (so you can gather it). Be sure to leave yourself a long tail.


With the tail, you're going to pull it until all the edges come together in the middle.

Pull... and pull...
And pull some more... Sorry this picture is a bit fuzzy. I didn't realize until now. :P
When you finish pulling, it's not going to look very attractive. It's going to be lumpy and the gathers are going to be uneven. Before anything, you want to cut your string and tie it, making sure it is all the way pulled up. Then you can straighten it out with your fingers until it looks nice and pretty. Just pull at the fabric a little here and a little there, until it looks like this:


See? Looks much nicer now.
Now's the time to put on the button. If you like, you can do it the lazy way and use hot glue. I like to sew mine on, but either way works.


That's all there is to it! So if you have more colors, you just do the same thing:
Sew it up, and pull:


And there you go!


If you like, you can put a clip on the back. Or you can leave them the way they are and just lay them around your house.


That's it! I'll probably make heaps and heaps in flower fabrics when Spring comes. :)
Thanks for reading!
-Phoebe

Saturday, September 5, 2015

A Muse Sunflower Card With Copics

Hello there! You all know that Autumn is literally just around the corner, so you know, I have to start making Fall themed crafts. :)
I came up with a card the other day, and I think it turned out really great! I used only A Muse Studio products for this one.


I was watching my Mom makes some cards with the A Muse Sunflowers set, and even though sunflowers are NOT my favorite flower, this card idea popped into my head, and I knew I had to make it for this Autumn season. I made a sketch of my idea as quick as I could so I wouldn't forget it!


So, as soon as I had some free time on my hands, I went to work!
The base of the card is Kraft paper. The yellow paper is Buttercup cut at 4" x 5 1/4". Then I stamped the Script Background stamp onto Vanilla paper cut at 3 3/4" x 5". The tab is also Vanilla paper. I used Cocoa ink on the flowers, leaves, script, and the saying on the inside.
The flower stamps are from Amuse' Sunflower set (what a great name...), including the leaves. I cut them out by hand, and the biggest flower is popped.

Ah, that bright sunshine-y yellow!

These are the Copic markers I used:
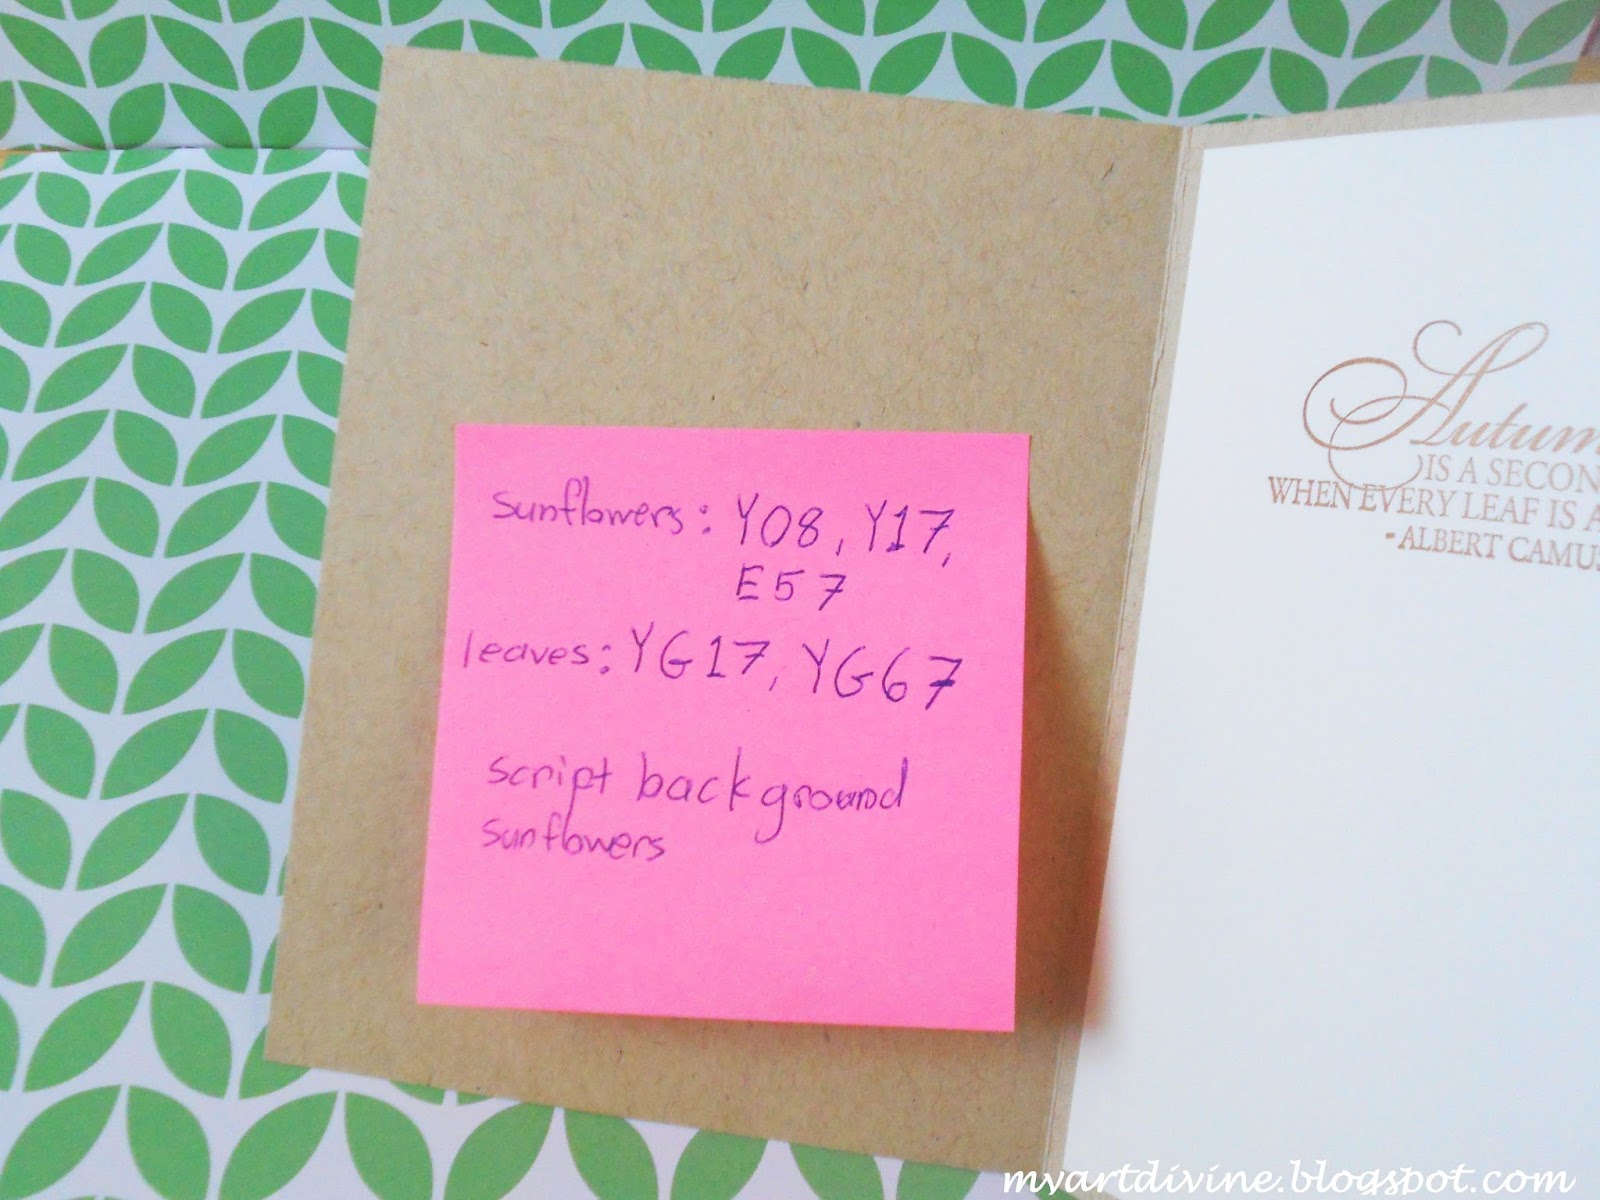
For the flowers: Y08, Y17, and E57
For the leaves: YG17, and YG67


The tab is popped, and I used a French Roast button from A Muse. The twine I just happened to use because it's what I had. :) I don't think it's A Muse.


Aaaaaaaand here's the inside! It is Vanilla paper (again) cut at 4" x 5 1/4". The stamp is from the Autumn Leaves stamp set. I think it's an adorable saying.


Usually, when I make a card like this, I like to make a little sticky note of the markers and sets I used, in case I want to make another one some other time (I would, of course, take the note out before sending it to anybody).


So that's it! I hope you have fun making the card. I already know who I'm going to send mine to. :D Be sure to check back because I'm gonna do some more Fall themed crafts that you're not going to want to miss!
-Phoebe
Related Posts Plugin for WordPress, Blogger...